Matthew Regis
Overview
In this blog post I'll go over the steps on how to publish a dotnet tool on NuGet.org. Thanks to NuGet.org, the process of publishing a .NET tool has been streamlined for simplicity and efficiency allowing developers to easily install the dotnet tool using the dotnet tool install command.
All the source code to this blog post can be found on this Github repository.
Steps
Step 1: Prepare Your .NET Tool
Before you can publish your tool on NuGet.org, ensure that your .NET tool is well-documented, thoroughly tested, and ready for public use. Make sure to include clear instructions on how to use your tool, any dependencies it might have, and any specific configuration steps.
In my example I will be creating a console app that generates a new guid.
Create the project:
dotnet new console -n dotnet-guid-demo -f net8.0
Update the program.cs code:
Console.WriteLine(Guid.NewGuid());
Update the .csproj file:
Comments have been added to highlight the properties to add in order to prepare the dotnet tool to be published.
<Project Sdk="Microsoft.NET.Sdk">

  <PropertyGroup>
    <OutputType>Exe</OutputType>
    <TargetFramework>net8.0</TargetFramework>
    <RootNamespace>dotnet_guid_demo</RootNamespace>
    <ImplicitUsings>enable</ImplicitUsings>
    <Nullable>enable</Nullable>

    <!-- Add the below properties for publishing to nuget.org -->

    <PackAsTool>true</PackAsTool>
    <ToolCommandName>dotnet-guid-demo</ToolCommandName>
    <PackageOutputPath>./nupkg</PackageOutputPath>

    <!-- The below properties are optional, but recommend. They will be used in the nuget listing -->

    <PackageLicenseExpression>MIT</PackageLicenseExpression>
    <PackageReadmeFile>README.md</PackageReadmeFile>
  </PropertyGroup>

  <!-- Make sure to add the README.md in the correct location -->
  <ItemGroup>
    <None Include="README.md" Pack="true" PackagePath="\"/>
  </ItemGroup>

</Project>
Step 2: Create a NuGet.org Account
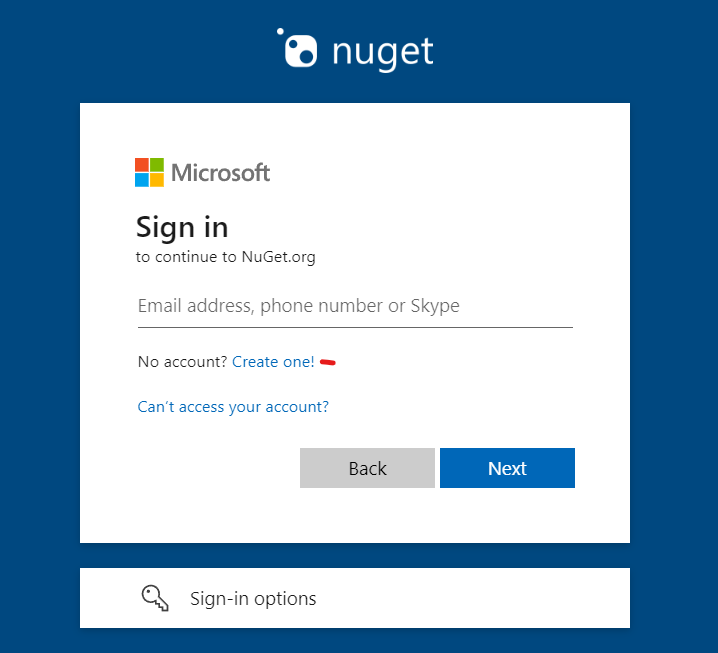
If you don't already have a NuGet.org account, you'll need to create one. Head over to NuGet.org, sign up, and verify your account.
The screenshot below highlights where you can create an account.
Step 3: Package Your .NET Tool
NuGet packages are the distribution format for .NET libraries and tools. To create a NuGet package for your .NET tool, you'll need to use the dotnet pack command. Ensure that your project is configured correctly as highlighted in step 1, and then run the following command in the terminal:
dotnet pack
This will create a NuGet package in the nupkg directory.
Step 4: Publish Your .NET Tool on NuGet.org
On nuget.org under your name navigate to 'Upload Package'.
NOTE: If using continuous integration or script you can use the
dotnet nuget pushcommand.
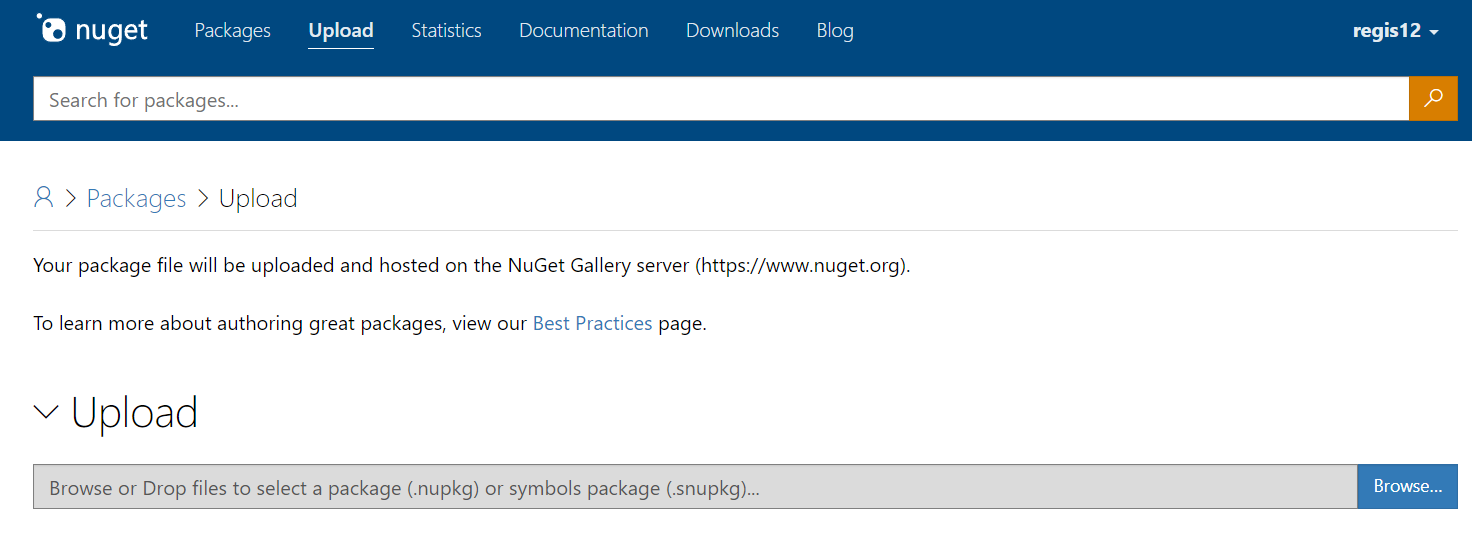
Browse to the nuget package created in the previous step and upload. Once uploaded you should see details of your package and then you should see a button to submit the package.
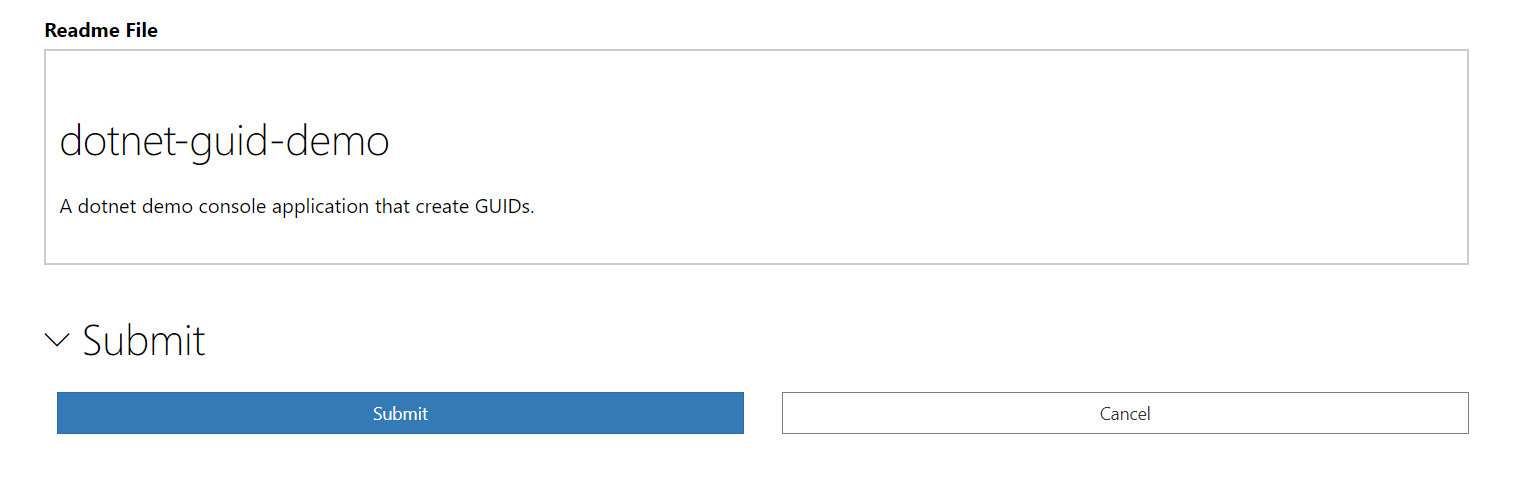
It make take sometime for the package to become available. You should get a email notification of when the package is published.
NOTE: I un-ticked the option 'List package in search results' as this tool is for demo purposes only.
Step 5: Verify Package
Here is the nuget package listing, as highlighted in the listing you can install the tool using the following command:
dotnet tool install --global dotnet-guid-demo --version 1.0.0
Below you will see me install the tool and use it straight away.
Summary
Publishing your .NET tool on NuGet.org is a straightforward process that empowers you to contribute to the thriving developer ecosystem. With just a few commands, you can make your tool accessible to a global audience, opening doors for collaboration and feedback.